 Thank you everyone for the birthday wishes. It was a fun weekend, but the day of my birthday included an unpleasant surprise-- the starter on my car went out. I wasn't planning on going anywhere, but just knowing I couldn't was frustrating. Fortunately I had today off of work and was able to get it repaired without much inconvenience.
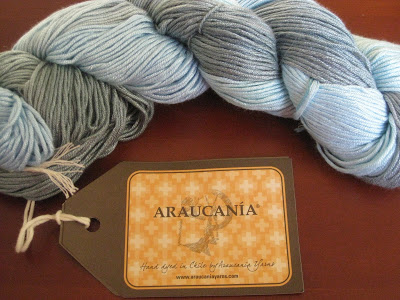
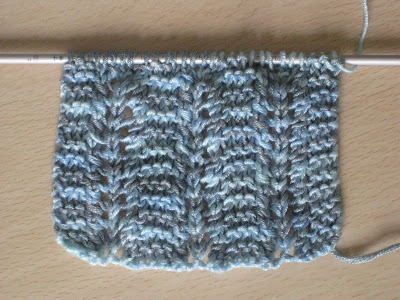 My local yarn shop, Green Planet Yarn, offers a birthday special to customers one time each year during their birthday month. After they ring up your yarn, you pick a chip out of a bowl and receive the discount on the chip. My chip was for 20% off. I bought a couple skeins of Araucania yarn made from sugar cane to knit a lace scarf for myself.
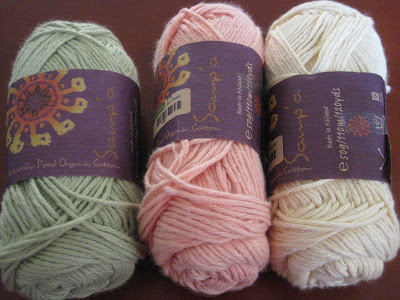 And I picked up this cotton to make Log Cabin Wash Cloths.
 Here is my first attempt from yarn in my stash. It is SUCH a fun pattern. You pick up stitches all the way around the square, which is something I'm still learning to do correctly. It has many imperfections, but that's okay. One thing knitting has taught me is to let go of trying to do things perfectly and just enjoy what I create.
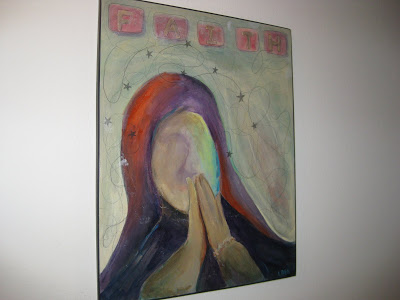 My sister Lisa (aka Feltypants) gave me one of her paintings for my birthday. When she showed it to me a few months ago, the first thing out of my mouth was, "Is that for me?" She said no and I was disappointed. Turns out it secretly was for me. It's hard to see in the photo, but "Faith" is written across the top.
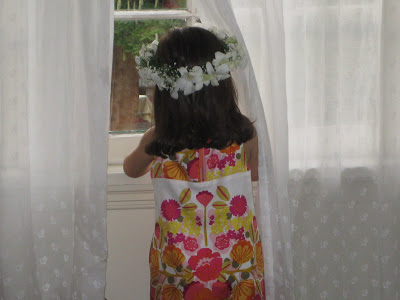
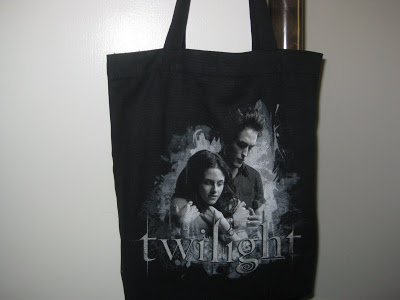 My other sister, Hilary-the-bride, cooked a delicious chicken fondue dinner and made homemade chocolate ice cream. She and her husband gave me a Twilight tote bag full of loot. Twilight calendar, jigsaw puzzle, poster, and even some non-Twilight tattoos. Oh, and a gift certificate for MORE YARN. Yippee!
A big thank you to Rachel at Not-So-Plain Jane for my birthday surprise. It really made me smile. Bloggy friends are the best.
Oh. I wanted to mention, now I am 43. It's looking pretty good so far :o)
Stacy
xxoo
xxoo
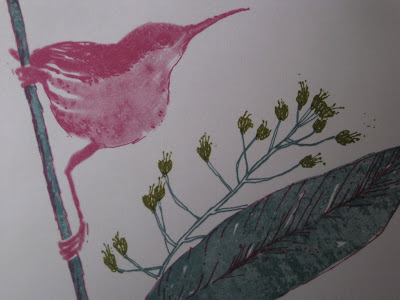


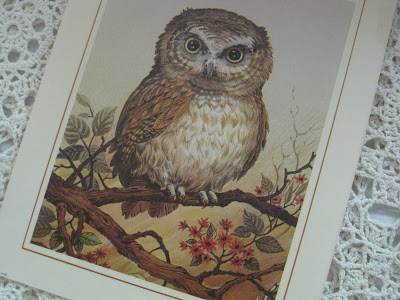 I haven't had time to do much birdwatching this summer, but birds and their nests are still making their way in to my life. This owl print is a recent thrift store find.


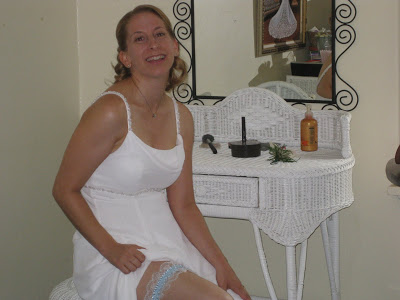


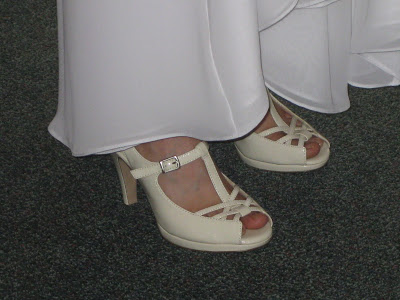 When the music started, she put on these babies and danced for hours.
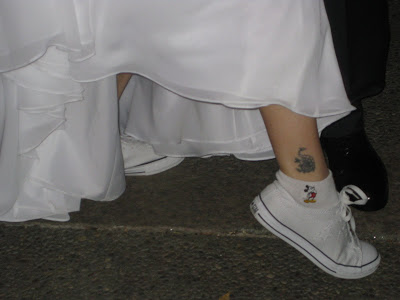


 Everything I used on the gift package is from my art supplies or recycled.
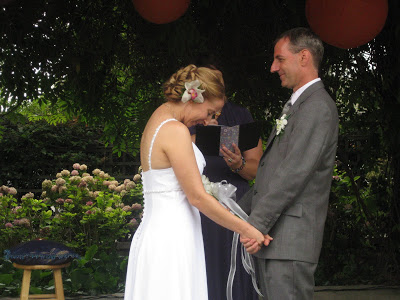
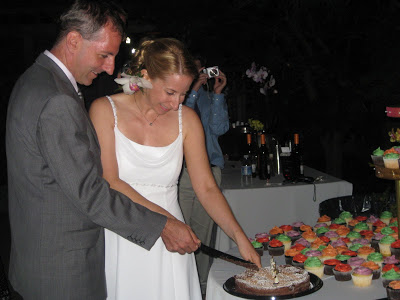
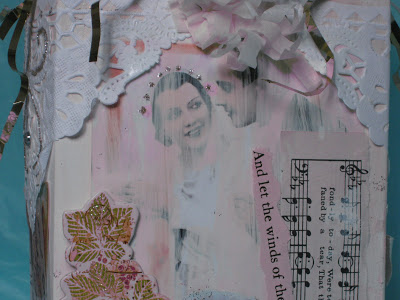 My sis and her husband-to-be requested that guests donate to a charity rather than buy them a gift. So, inside the package is a bank deposit slip from 1905 for seventeen dollars, two rolled up sheets of music tied with a ribbon and a notice that a donation has been made in their name.
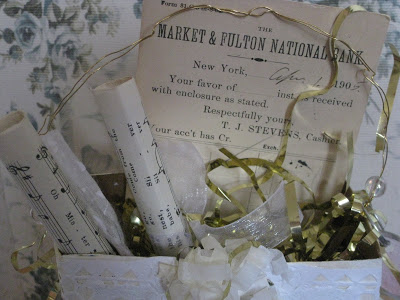


